6.2 KiB
| date | thumbnail | featureImage | usePageBundles | categories | tags | title | ||||
|---|---|---|---|---|---|---|---|---|---|---|
| 2020-09-14T08:34:30Z | qDTXt1jp3.png | qDTXt1jp3.png | true | ChromeOS |
|
3D Modeling and Printing on Chrome OS |
I've got an Ender 3 Pro 3D printer, a Raspberry Pi 4, and a Pixel Slate. I can't interface directly with the printer over USB from the Slate (plus having to be physically connected to things is like so lame) so I installed Octoprint on the Raspberry Pi and connected that to the printer's USB interface. This gave me a pretty web interface for controlling the printer - but it's only accessible over the local network. I also installed The Spaghetti Detective to allow secure remote control of the printer, with the added bonus of using AI magic and a cheap camera to detect and abort failing prints.
That's a pretty sweet setup, but I still needed a way to convert STL 3D models into GCODE files which the printer can actually understand. And what if I want to create my own designs?
Enter "Crostini," Chrome OS's Linux (Beta) feature. It consists of a hardened Linux VM named termina which runs (by default) a Debian Buster LXD container named penguin (though you can spin up just about any container for which you can find an image) and some fancy plumbing to let Chrome OS and Linux interact in specific clearly-defined ways. It's a brilliant balance between offering the flexibility of Linux while preserving Chrome OS's industry-leading security posture.

There are plenty of great guides (like this one) on how to get started with Linux on Chrome OS so I won't rehash those steps here.
One additional step you will probably want to take is make sure that your Chromebook is configured to enable hyperthreading, as it may have hyperthreading disabled by default. Just plug chrome://flags/#scheduler-configuration into Chrome's address bar, set it to Enables Hyper-Threading on relevant CPUs, and then click the button to restart your Chromebook. You'll thank me later.

The Software
I settled on using FreeCAD for parametric modeling and Ultimaker Cura for my GCODE slicer, but unfortunately getting them working cleanly wasn't entirely straightforward.
FreeCAD
Installing FreeCAD is as easy as:
sudo apt update # [tl! .cmd:2]
sudo apt install freecad
But launching /usr/bin/freecad caused me some weird graphical defects which rendered the application unusable. I found that I needed to pass the LIBGL_DRI3_DISABLE=1 environment variable to eliminate these glitches:
env 'LIBGL_DRI3_DISABLE=1' /usr/bin/freecad & # [tl! .cmd]
To avoid having to type that every time I wished to launch the app, I inserted this line at the bottom of my ~/.bashrc file:
alias freecad="env 'LIBGL_DRI3_DISABLE=1' /usr/bin/freecad &"
To be able to start FreeCAD from the Chrome OS launcher with that environment variable intact, edit it into the Exec line of the /usr/share/applications/freecad.desktop file:
sudo vi /usr/share/applications/freecad.desktop # [tl! .cmd]
[Desktop Entry]
Version=1.0
Name=FreeCAD
Name[de]=FreeCAD
Comment=Feature based Parametric Modeler
Comment[de]=Feature-basierter parametrischer Modellierer
GenericName=CAD Application
GenericName[de]=CAD-Anwendung
Exec=env LIBGL_DRI3_DISABLE=1 /usr/bin/freecad %F # [tl! focus]
Path=/usr/lib/freecad
Terminal=false
Type=Application
Icon=freecad
Categories=Graphics;Science;Engineering
StartupNotify=true
GenericName[de_DE]=Feature-basierter parametrischer Modellierer
Comment[de_DE]=Feature-basierter parametrischer Modellierer
MimeType=application/x-extension-fcstd
That's it! Get on with your 3D-modeling bad self.
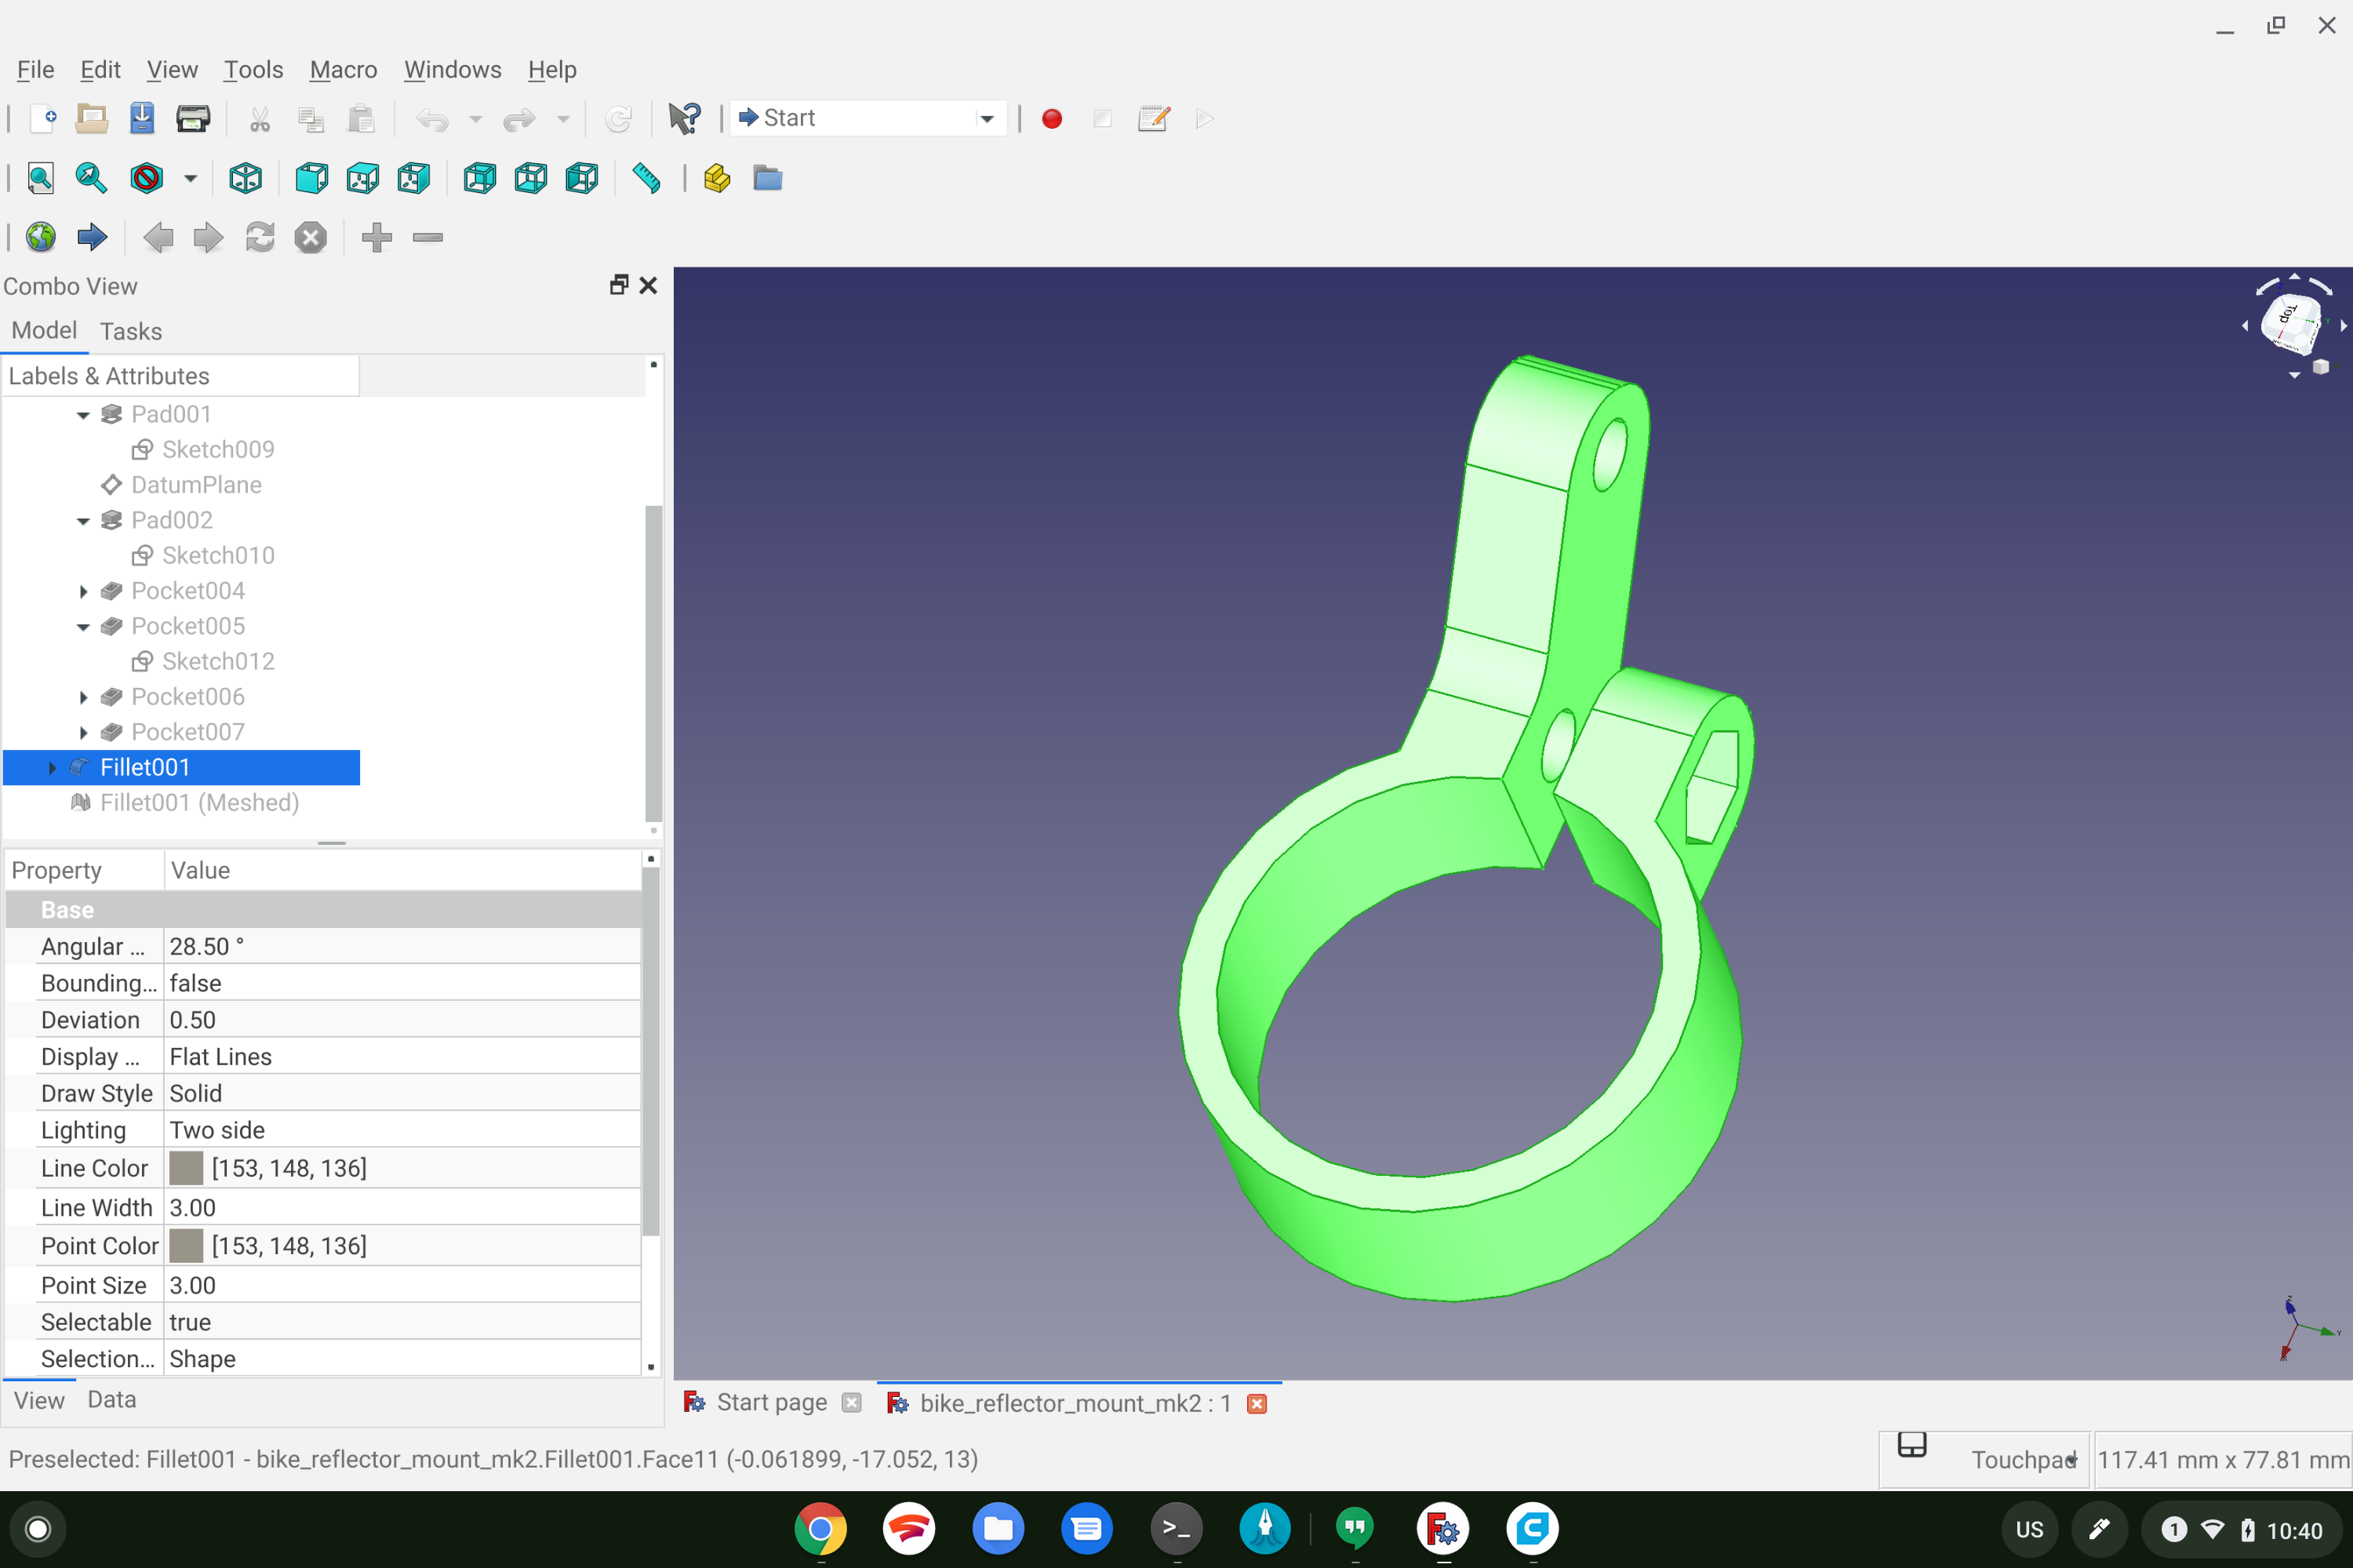 Now that you've got a model, be sure to export it as an STL mesh so you can import it into your slicer.
Ultimaker Cura
Cura isn't available from the default repos so you'll need to download the AppImage from https://github.com/Ultimaker/Cura/releases/tag/4.7.1. You can do this in Chrome and then use the built-in File app to move the file into your 'My Files > Linux Files' directory. Feel free to put it in a subfolder if you want to keep things organized - I stash all my AppImages in ~/Applications/.
To be able to actually execute the AppImage you'll need to adjust the permissions with 'chmod +x':
chmod +x ~/Applications/Ultimaker_Cura-4.7.1.AppImage # [tl! .cmd]
You can then start up the app by calling the file directly:
~/Applications/Ultimaker_Cura-4.7.1.AppImage & # [tl! .cmd]
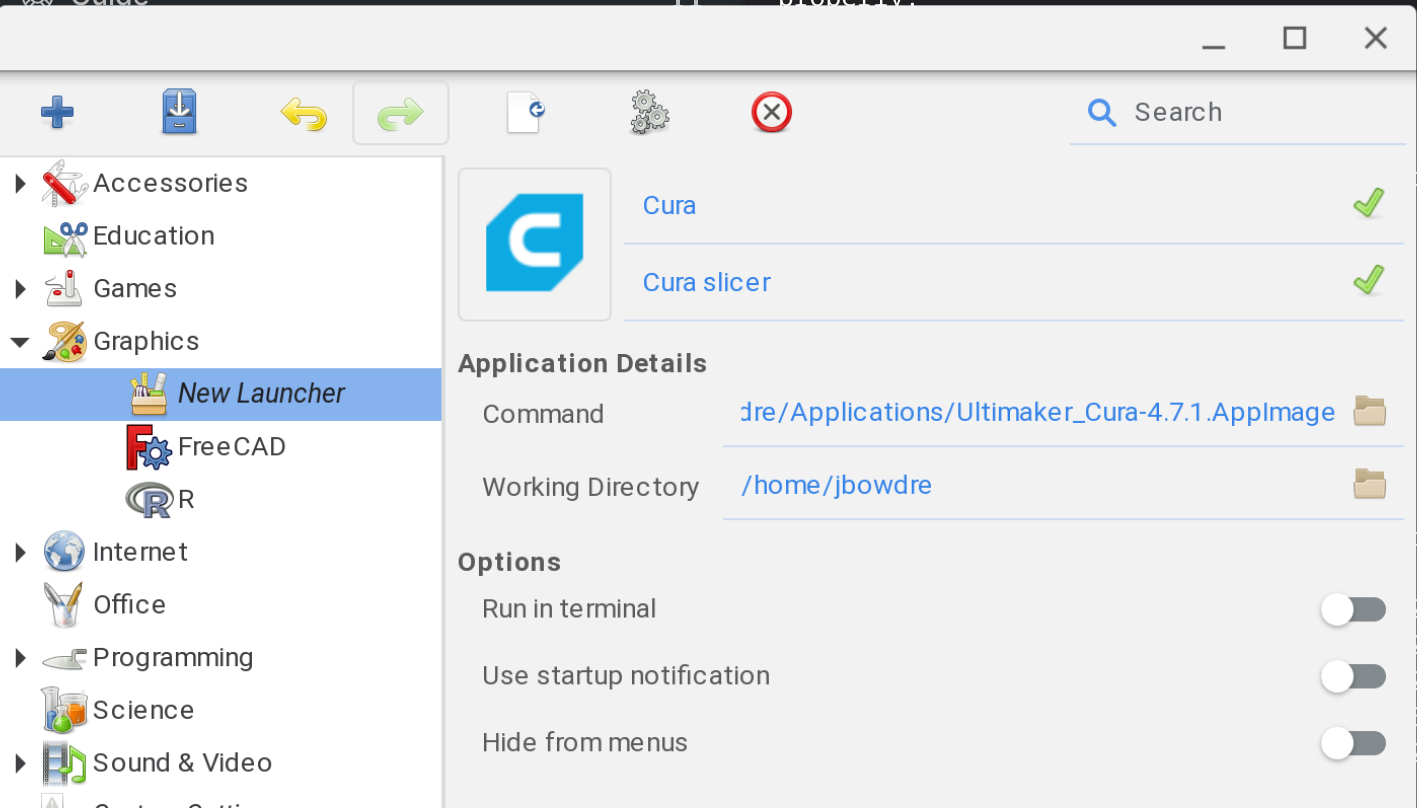
AppImages don't automatically appear in the Chrome OS launcher so you'll need to create its .desktop file. You can do this manually if you want, but I found it a lot easier to leverage menulibre:
sudo apt update && sudo apt install menulibre # [tl! .cmd:2]
menulibre
Just plug in the relevant details (you can grab the appropriate icon here), hit the filing cabinet Save icon, and you should then be able to search for Cura from the Chrome OS launcher.
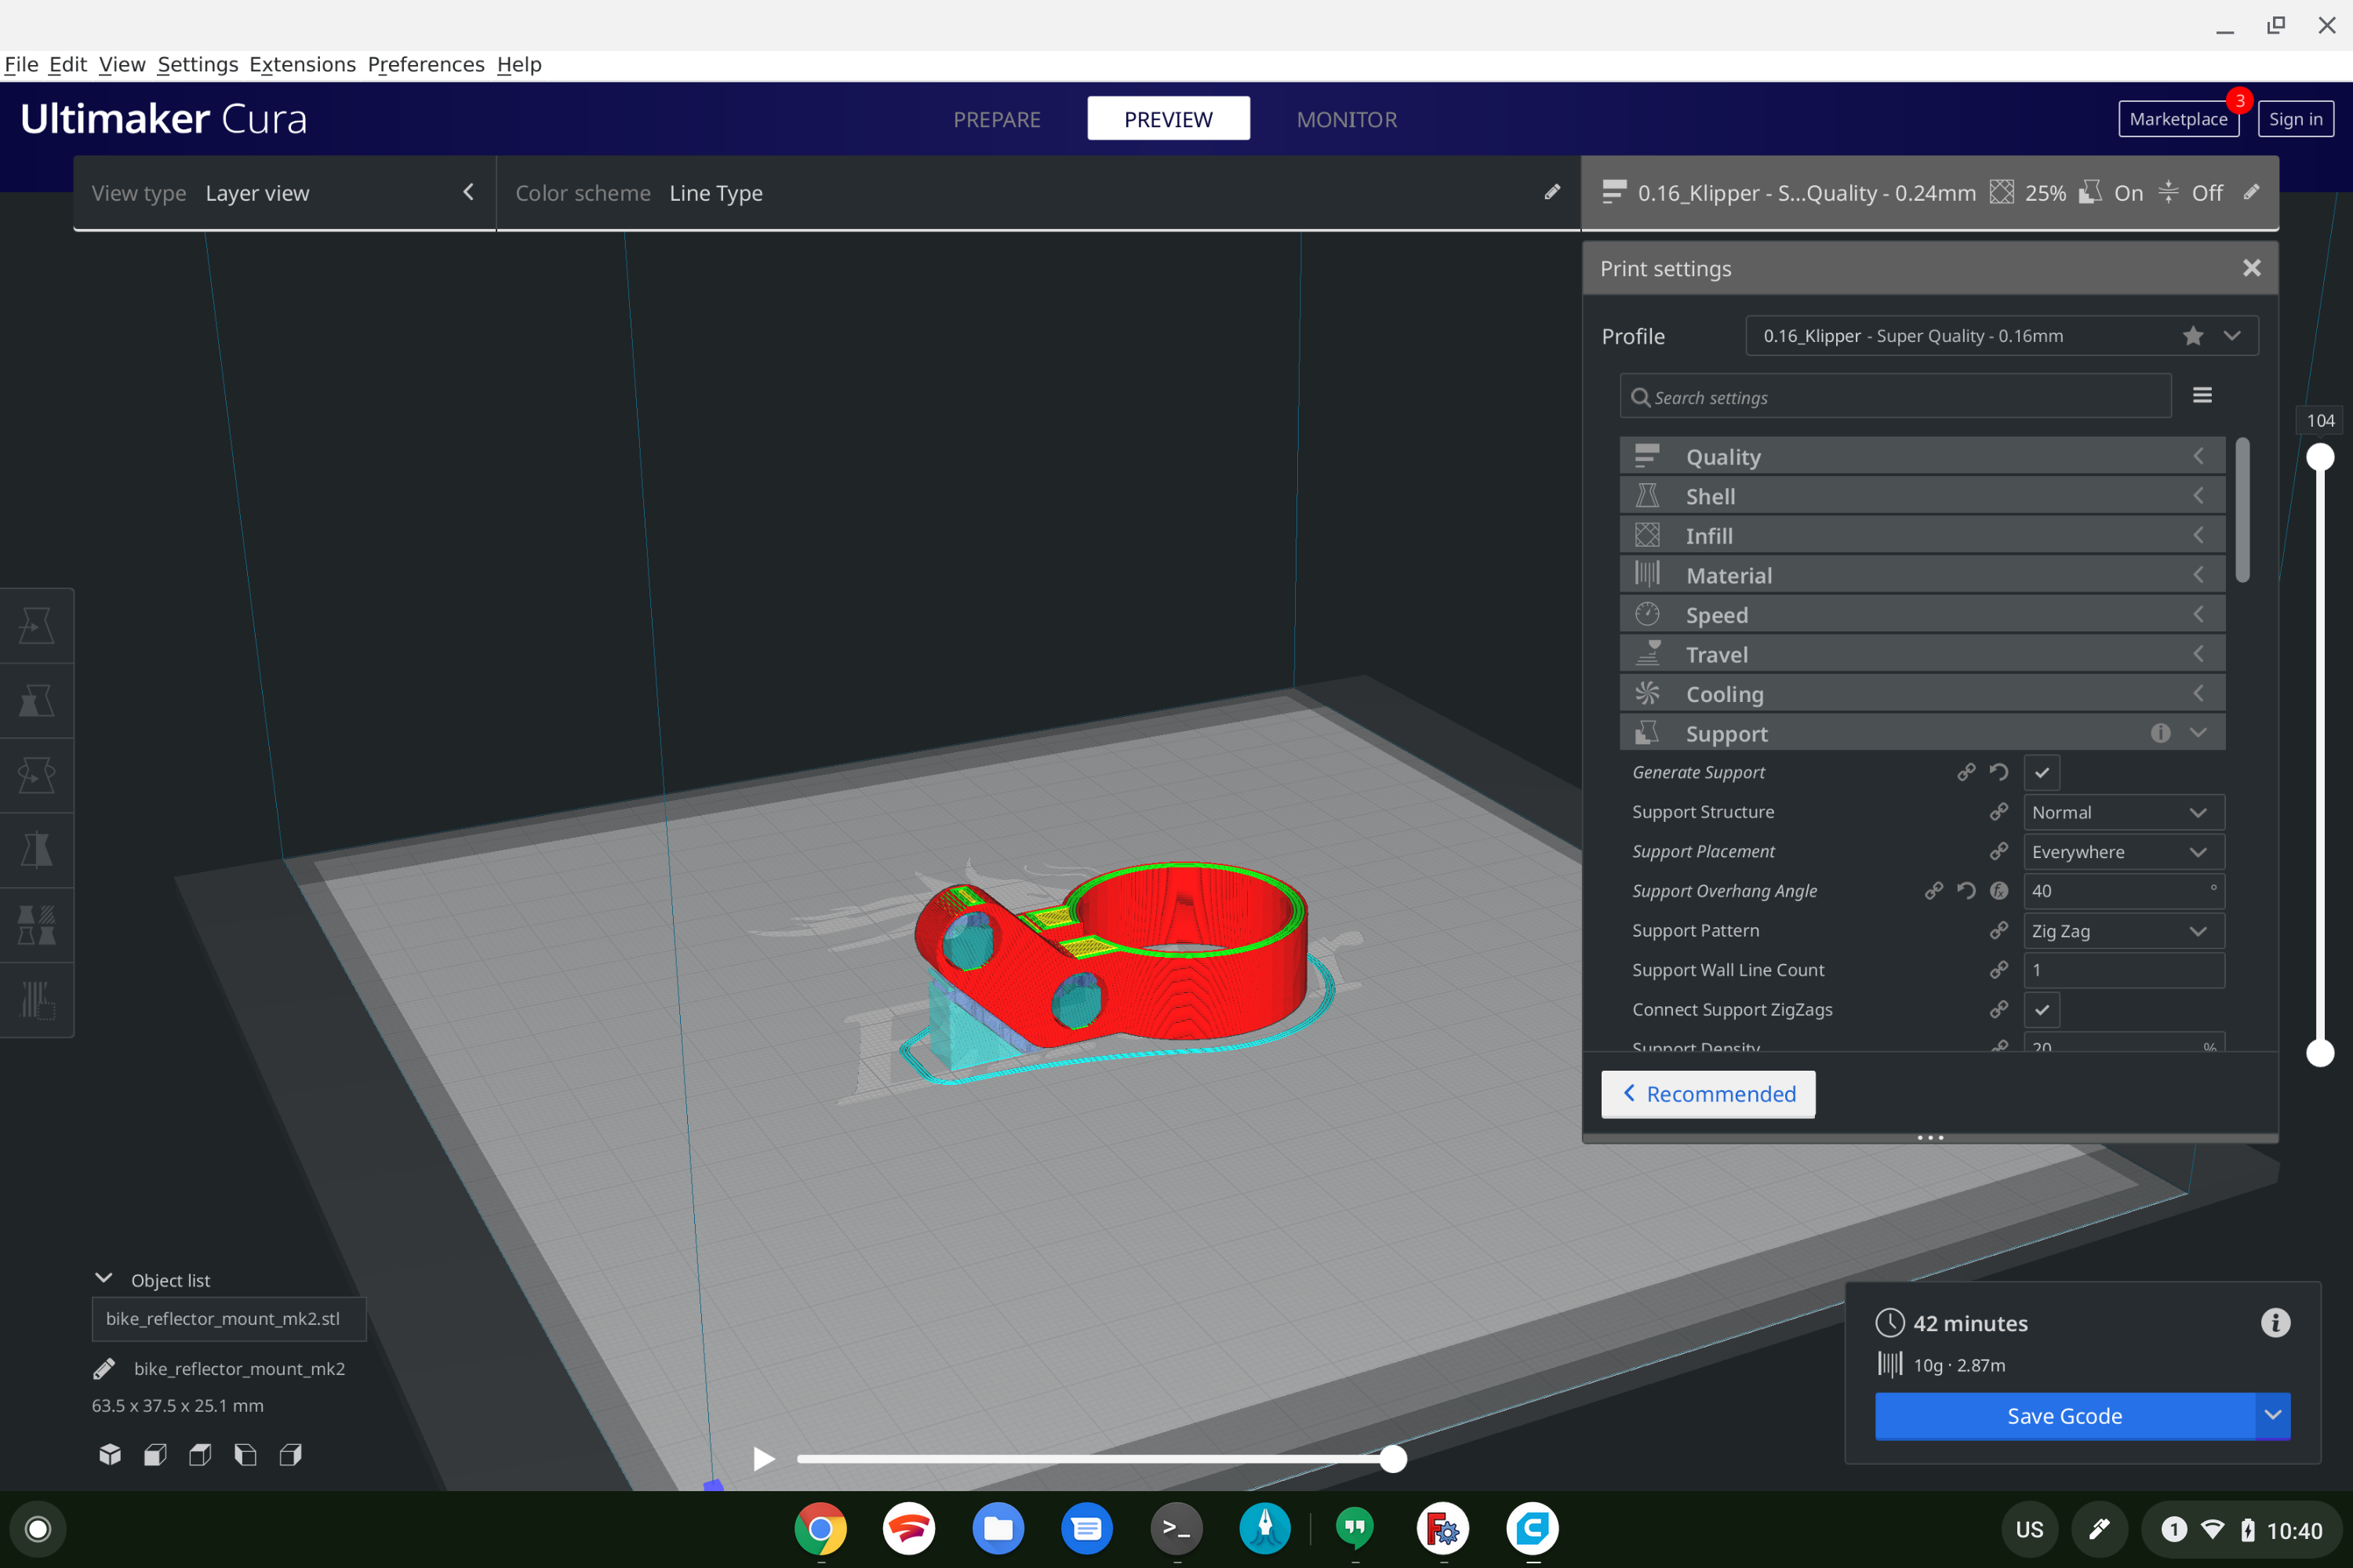
From there, just import the STL mesh, configure the appropriate settings, slice, and save the resulting GCODE. You can then just upload the GCODE straight to The Spaghetti Detective and kick off the print.
Nice!